The Ultimate Guide to Building a Resilient Video Upload & Processing Pipeline
A deep-dive tutorial for developers on building a production-grade video pipeline from scratch, covering resumable uploads, FFmpeg transcoding, HLS packaging, and secure cloud storage.
As an engineer, being asked to “add video uploads” to an application can feel deceptively simple. An <input type="file"> and a POST request, right? The reality is that building a system that is robust, scalable, and provides a good user experience is a monumental task—a complete product in its own right.
This guide is for developers who want to understand what it truly takes to build a video pipeline from first principles. We will architect the entire flow, from a user’s browser to a global delivery network, exploring the complexities and hidden challenges at every stage.
Architectural Overview: The Four Pillars of a Video Pipeline
A production-grade video infrastructure rests on four pillars. You must build, manage, and scale each one.
- Ingestion: Reliably getting large video files from a user’s device to your system.
- Processing: Transforming the raw video file into various formats suitable for any viewer on any device.
- Storage: Securely and durably storing both the original file and the processed versions.
- Delivery: Delivering the video to end-users with low latency and high performance, anywhere in the world.
Let’s build each pillar from the ground up.
Pillar 1: Building a Resilient Ingestion Layer
A standard HTTP request will time out or crash a browser tab when trying to upload a 1 GB video file. We need a more sophisticated client-side solution.
The Resumable Upload Client
The goal is to create an uploader that survives network failures and browser refreshes. This is achieved through chunking.
- File Slicing: In JavaScript, you can use the
File.prototype.slice()method to break a large file into smaller, numbered chunks (e.g., 5MB each). - Checksums: For each chunk, you should calculate a checksum (like an MD5 or SHA-1 hash) on the client. This allows the server to verify the integrity of each chunk upon arrival, protecting against data corruption during transit.
- Concurrent Chunk Uploads: To maximize throughput, you can use
Promise.allor a worker pool to upload multiple chunks (e.g., 3-4) simultaneously. - State Management: The client must track the status of each chunk:
pending,uploading,failed,completed. This state should be saved tolocalStorage, so if the user accidentally closes their tab, the upload can be resumed from where it left off. - Retry with Exponential Backoff: When a chunk upload fails, don’t retry immediately. Implement an exponential backoff strategy (wait 1s, then 2s, then 4s) to gracefully handle temporary server or network issues.
Pillar 2: The Herculean Task of Video Processing
Once the raw file is assembled on your server (likely an EC2 instance or a similar VM), the most computationally expensive work begins: transcoding.
Why Transcode?
The original file is useless for streaming. It’s too big and in a single format. Transcoding creates multiple versions (renditions) to serve every user perfectly.
Your New Best Friend and Worst Enemy: FFmpeg
FFmpeg is the open-source powerhouse for all things video. You’ll need to install it on your processing servers and master its arcane command-line syntax. A typical workflow for a single video involves:
- Probing the Input: First, use
ffprobeto inspect the source video’s properties: its resolution, bitrate, codecs, and frame rate. You need this information to make intelligent transcoding decisions. - Generating Video Renditions: You’ll execute a series of FFmpeg commands. For a 1080p source, you might generate:
- 1080p rendition at ~5 Mbps
- 720p rendition at ~2.5 Mbps
- 480p rendition at ~1 Mbps
- 360p rendition at ~600 Kbps
A sample command looks horrifyingly complex:
ffmpeg -i input.mp4 \
  -c:v libx264 -preset slow -crf 22 \
  -s 1280x720 -b:v 2500k \
  -c:a aac -b:a 128k \
  -profile:v high -level 4.1 \
  output_720p.mp4
You have to do this for each quality level.
-
Packaging for Adaptive Bitrate Streaming (ABS): Individual MP4 files aren’t enough for true streaming. You must package them into a format like HLS. This involves another FFmpeg command that takes all your MP4 renditions and splits them into tiny video segments (e.g., 2-4 seconds long) and generates a
.m3u8manifest file. This manifest is the “playlist” that tells the video player which segments to request. -
Generating Thumbnails and Previews: You need visual previews.
- Static Thumbnail: Use FFmpeg to extract a single frame from the middle of the video.
- Animated Preview (Storyboard/Scrubbing): Extract a frame every 5 seconds, stitch them together into a single “sprite sheet” image, and generate a VTT file that maps timecodes to coordinates on the sprite sheet.
The Processing Server is a Bottleneck. Video transcoding is incredibly CPU-intensive. A single 10-minute video can tie up a multi-core server for several minutes. Processing hundreds of videos concurrently requires a complex, auto-scaling fleet of dedicated “worker” servers, a job queue (like RabbitMQ or SQS), and a robust error-handling system. This is a massive infrastructure project.
Pillar 3 & 4: Scalable Storage and Global Delivery
After processing, you have dozens of new files for each source video (MP4s, TS segments, M3U8 manifest, VTT files, images).
- Durable Storage (S3): The only sane choice is an object storage service like Amazon S3. You’ll need to create a bucket, manage IAM permissions carefully to allow your servers to write files, and set up lifecycle policies to manage old data.
- Content Delivery Network (CDN): Serving directly from S3 is slow and expensive. You must configure a CDN like Amazon CloudFront to cache your video files at edge locations around the world. This involves setting up distributions, configuring cache-control headers, handling CORS policies for the video player, and potentially securing your content with signed URLs to prevent hotlinking.
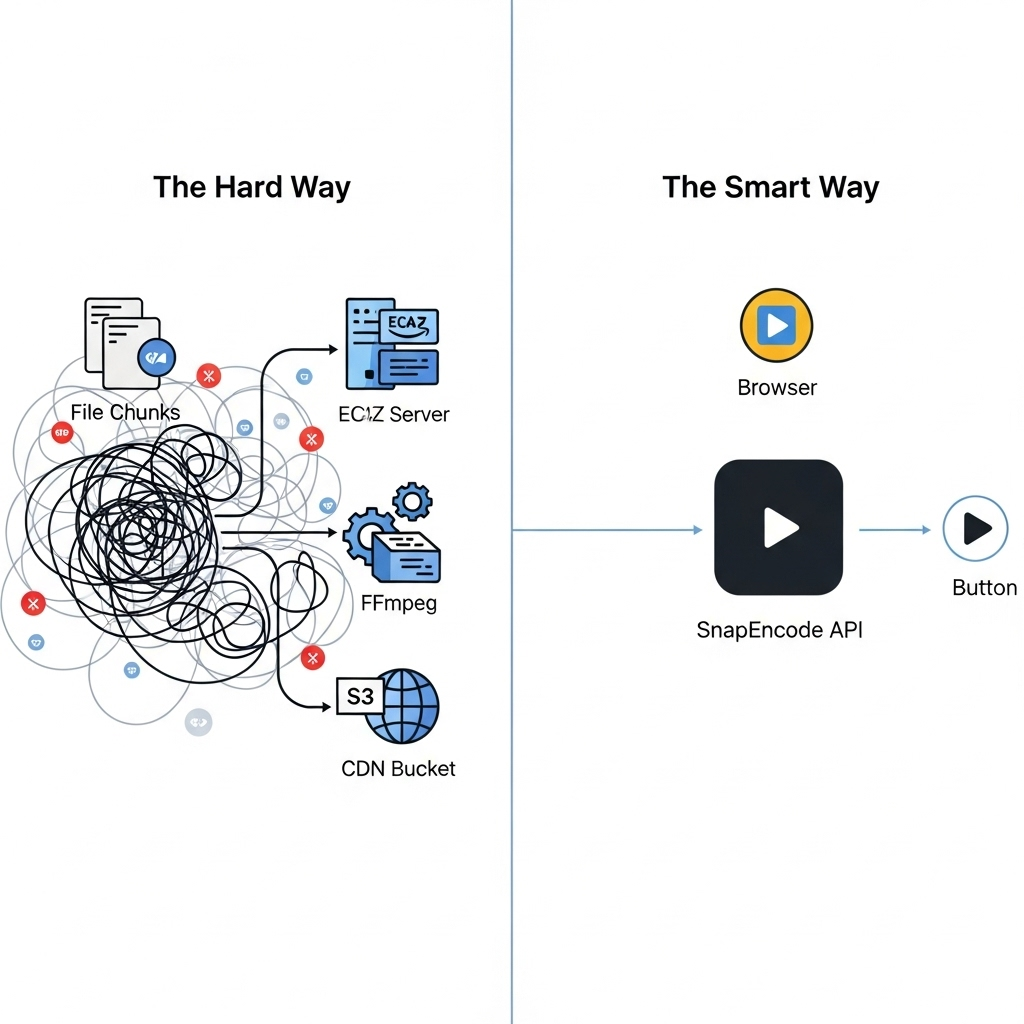
The Alternative: The API-First Approach with Snapencode
After reading the above, the value of a dedicated video API becomes crystal clear. Snapencode is designed to be the entire four-pillar infrastructure, accessible through simple API calls.
Let’s re-imagine the entire process:
- Ingestion: Use our client-side SDK. It automatically handles chunking, retries, concurrency, and resumability. You write 10 lines of code instead of 500.
// The Snapencode SDK handles all the complexity of Pillar 1.
const { upload, progress } = useSnapencodeUpload();
await upload(file);- Processing, Storage, Delivery: The moment the upload completes, our globally distributed infrastructure takes over.
- Our systems automatically probe the file.
- A massively parallel fleet of media processors transcodes it into multiple renditions for perfect ABS.
- Thumbnails and animated previews are generated.
- All artifacts are pushed to a multi-region storage layer for durability.
- Everything is instantly available via our high-performance CDN, with no configuration needed.
Instead of spending 3-6 months building a complex and brittle video pipeline, your team can focus on your core product features, confident that your video infrastructure is scalable, reliable, and world-class from day one.
Ready to skip the hard way? Explore the Snapencode API documentation or sign up for a free developer account to get started in minutes.